Blogs
Instructions for using smart interactive screens
The interactive screen is a modern technology device that serves the needs of education, presentations, and meetings to create high efficiency in work and the highest quality teaching. MatriXcope will guide you how to use the interactive screen as quickly as possible.
What is a smart interactive screen?
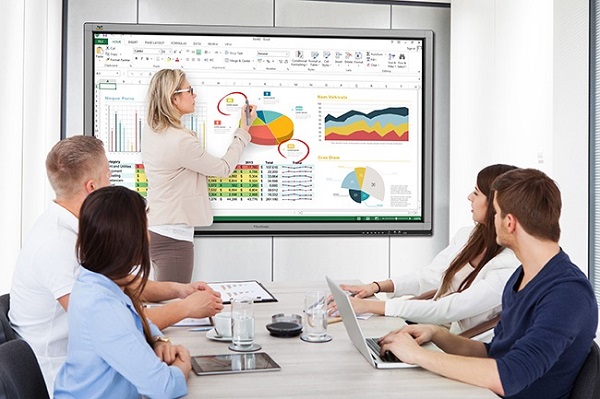
Smart interactive screen is an All in One smart interactive solution that can both display images and interact at the same time, images are sharp and not affected by external environmental factors. Smart interactive screens provide the most optimal presentation solution. An all-in-one device (large screen, mini PC, built-in interactive device).

Interactive screens are used quite strongly in the field of education and businesses to create efficiency in work and the highest quality teaching!
The interactive screen displays very clear images with resolution up to 4K. In addition, it also integrates many advanced technologies to help protect users’ eyes such as: Anti-flicker technology, blue light filtering technology, anti-glare technology, etc. The interactive screen also has very high durability. , especially with reputable brands, it can be up to 13-15 years.
Modern smart interactive screens come in many sizes to serve users: 55 inches, 65 inches, 75 inches, 86 inches, 100 inches.
Instructions for using the interactive screen via computer
Step 1: Connect the interactive screen to the computer using a cable. Then check again by trying to start the screen pressing the POWER button. If you see the light on the screen turn green, it means the screen is working.
Step 2: There are 2 ways to connect the screen to the computer:
– Connect VGA cable + Touch USB cable + Audio cable
– Connect HDMI cable + Touch USB cable (HDMI cable should be used)
Step 3: Press the Windows + P key combination on the computer screen then:
– Click Duplicate if you want to display data on both the computer screen and the interactive screen
– Click Second Screen only if you only want to display data on the interactive screen.
After connecting the computer screen to the interactive screen, you can project images from the computer to the screen without having to directly operate on the screen.
Instructions for using the interactive screen via touch pen
In addition to connecting to a computer to use the interactive screen, you can also directly operate on the interactive screen. This is also a feature that helps interactive screens stand out compared to conventional projectors and televisions.
Interactive screens allow users to use their fingers or a touch pen to operate on the screen. In addition to buttons such as power, home, volume up, down, settings, etc., they are already equipped on the screen. You can use the stylus to do everything a standard computer mouse can do.
– Move the cursor: Place the pen nib on the board, don’t press hard and move around and you will see the cursor will move with the pen.
– Left mouse feature: Tap the tip of the pen firmly but quickly on the interactive screen.
– Right-click feature: Drag the pen tip on the interactive screen, less than 1cm away from the board. Press the single round button on the side of the pen.
– Drag pen: Select the image or object you want to move, then keep the pen tip facing down on the board and move the pen as you like.
– Double click: Double click quickly and gently to perform the same operation as double clicking on a computer
– Writing: The interactive screen resembles a tablet surface, so users can use the stylus to write over image files, text, etc. for convenience in work and study.
Through the above article, MatriXcope hopes you have understood how to use smart interactive screens in the simplest way. If you have any questions, please contact us at Hotline: for the best advice and support.
